
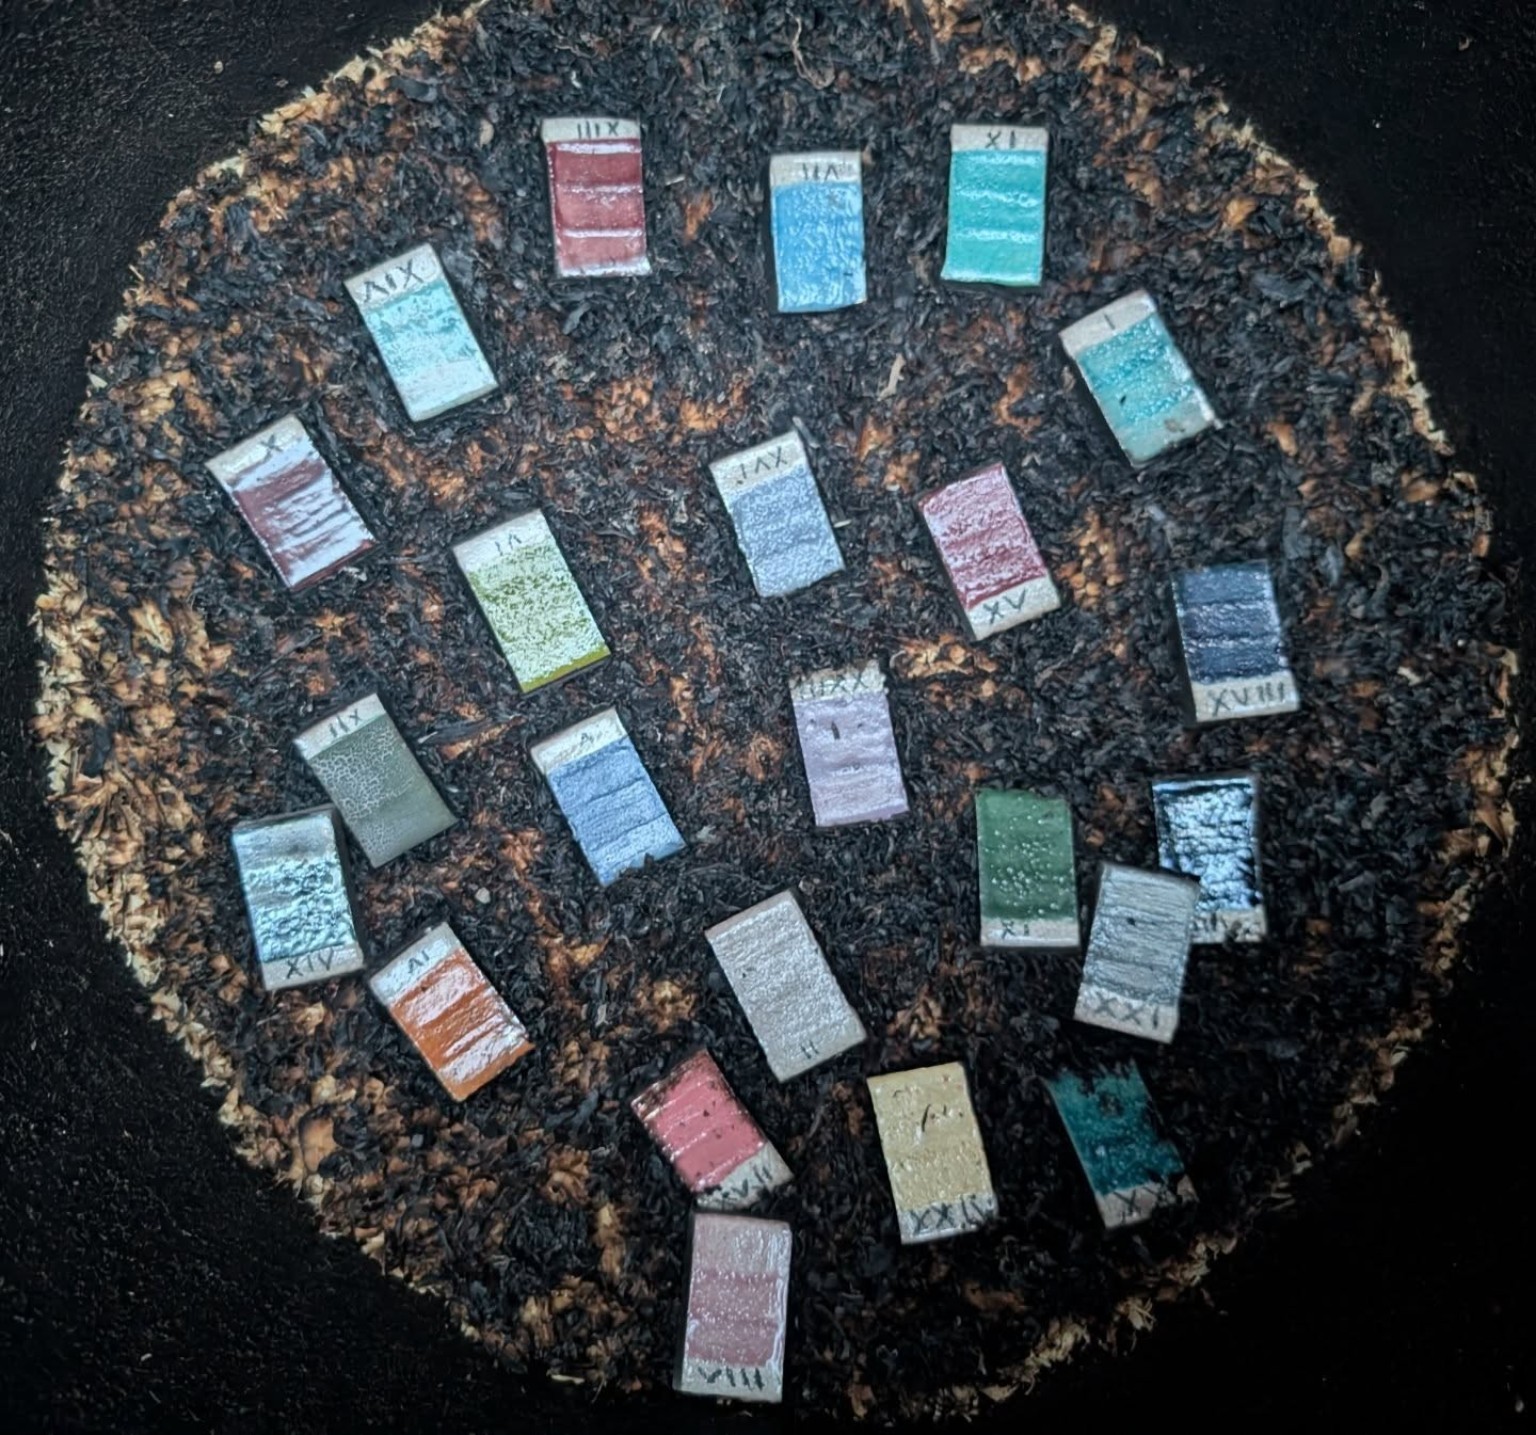
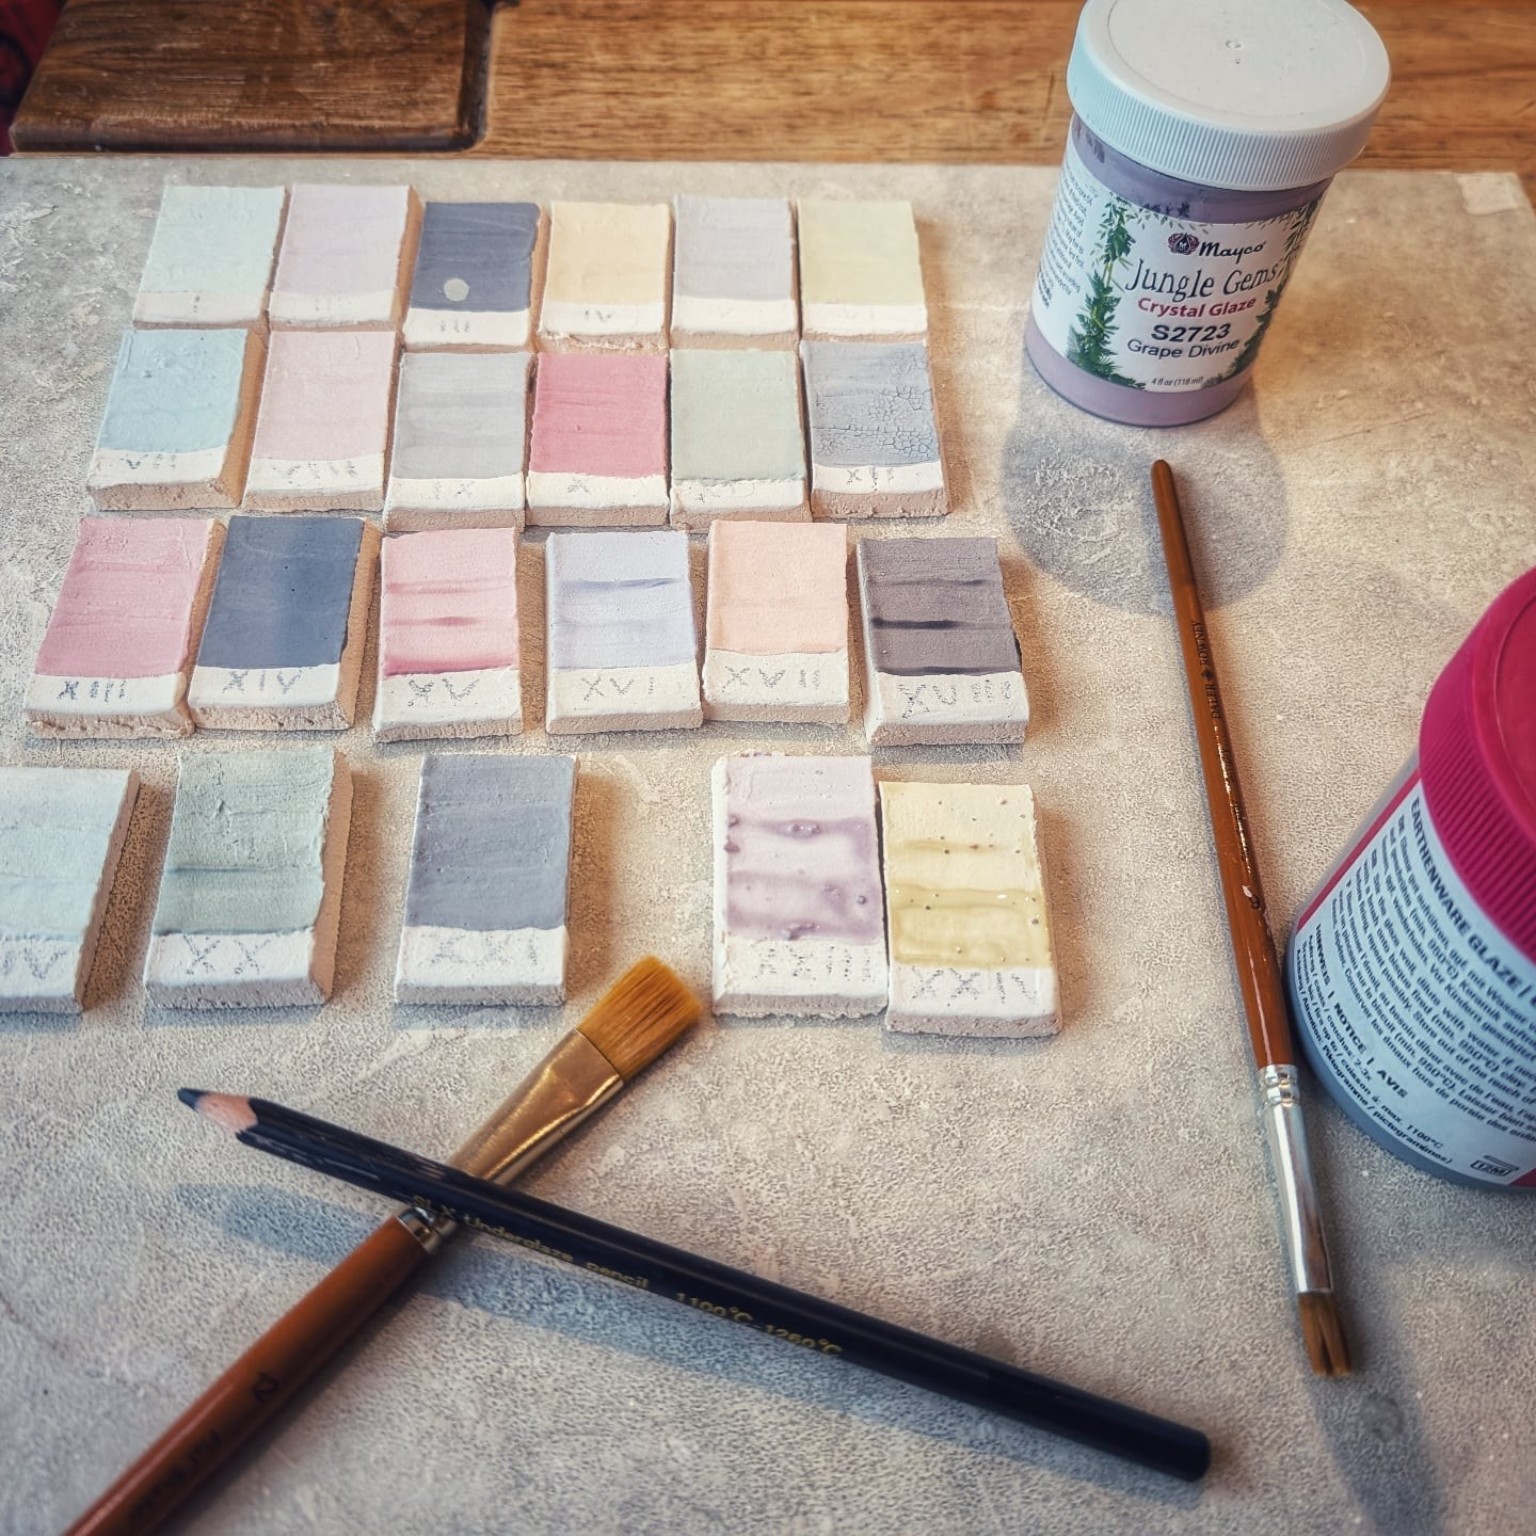
Raku glaze test tiles.
Spending time making test tiles is one of the quieter parts of raku, but it is where I can see what is worth taking further.
These are the same test tiles I had laid out before firing, now fresh from the sawdust reduction phase.
I fired them to 1000°C in the gas raku kiln, then moved them into sawdust for reduction. That is where the colour and surface really start to shift.
Smoke, flame and atmosphere all leave their mark. Some colours soften, others become darker or more metallic, and several pick up the smoky, unpredictable effects that are difficult to judge from the unfired glaze.
Laid out together they feel like a set of small experiments, each one showing a different conversation between glaze, fire and reduction.
Now comes the useful part: deciding which ones are worth exploring further on finished pieces.
Raku glaze testing